DIY Stocking Idea with Martha Stewart and Cricut
/
Hey y’all! I’m back again with another project that I created in collaboration with Cricut, Michaels, and Martha Stewart, and I can hardly wait to share this one with you!
It’s fast, it’s affordable, and it’s so darn cute!!! I’ll give you the full “how to” for this DIY Stocking Idea below, but I hope you’ll use it as a baseline to get your creative juices flowing. The possibilities are endless here!
Obviously, most people personalize stockings to hang in their home, but think outside of the box, too! In this case, I used the stocking as gift wrap.
The holidays can be super stressful, and I thought my girlfriends might want some wine to help them cope through the craziness. I gussied up a simple stocking using my Cricut Explore Air 2 Martha Stewart Bundle and the brand new Cricut EasyPress 2 Martha Stewart Edition, tucked some chocolate and wine inside, and voila! A sanity-saver in a stocking! ;)
This would also be a great gift for neighbors, Christmas Party hostesses, your boss…heck, anyone really. The point is, don’t be afraid to add your own spin to the personalization (there are a slew of fun options in Design Space), or even the gift inside. It doesn’t have to be wine…it can be anything!
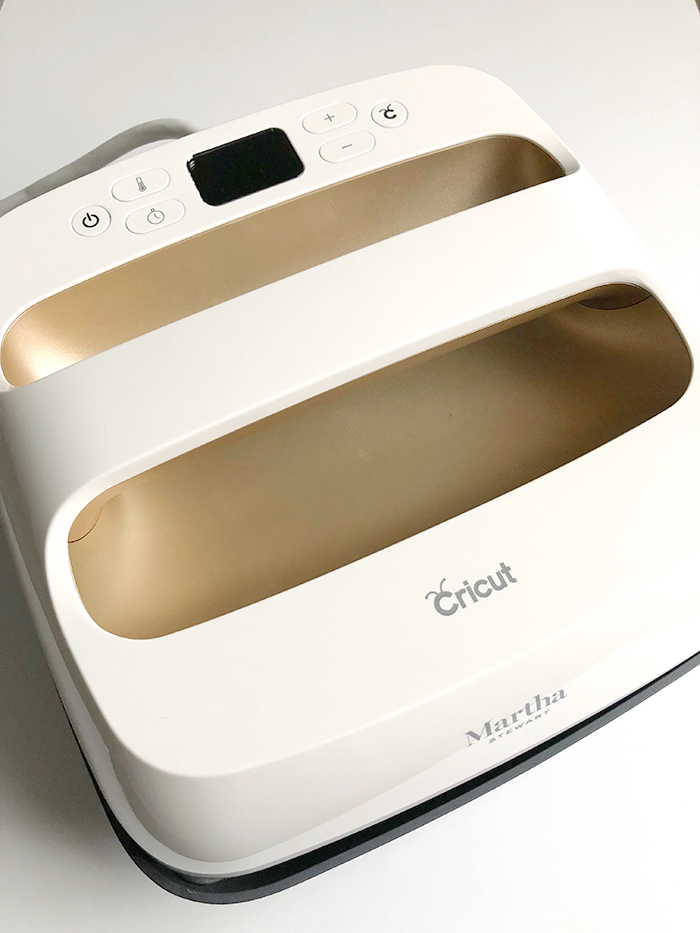
Based on my previous posts, you guys know that I’m a wee bit obsessed with the Cricut Explore Air 2 Martha Stewart Bundle. Well, today I’m sooooo excited to tell you that the dynamic trio has introduced a new accessory that is a MUST in the crafting world… The Cricut EasyPress 2 Martha Stewart Edition, available exclusively at Michaels!!!
This 9” x 9” vanilla pearl beauty is dressed in gold, and gets you professional iron-on results…in less than a minute! If you’ve ever tried to apply iron-on material with an iron, you know that it can be pretty hit or miss. The temperature is just too hard to get right! It’s either not hot enough so the material doesn’t adhere everywhere, or it’s too hot and your iron-on crinkles up. I’ve wrecked many a project using an iron, and I know I’m not alone. :(
Enter the EasyPress 2. This baby allows you to choose the precise temperature you need based on the material you are using (as well as the material that you are adhering to), then the ceramic-coated heat plate heats evenly to that temp and tells you exactly how long you will need to press the material, providing you with perfect adhesion!
Another bonus? It’s SO easy to use! My daughter and I did a project together for her bridesmaids using the EP2, and she’s been over here numerous times since then to use it again because it’s just that easy. And fun!!!

What You’ll Need for this DIY Stocking Idea
This project in Design Space
Cricut Cutting Machine (We used the Cricut Explore Air 2 Martha Stewart Bundle, but any Cricut Cutting Machine will work)
A stocking (I’d recommend a stocking made out of simple materials, as plush, furry fabrics can be hard to bond to)
Martha Stewart Everyday Iron-On (I used Rose Pink, Mint, and Gold)

Begin by opening the project in Design Space and clicking “Make It.” The program will sort the different colors of Iron-On onto their own mats for cutting. When cutting iron-on material, the images will need to be mirrored so that they display correctly when applied to your project. Click the toggle button on each mat to turn mirroring on for each cut.

The Explore Air 2 will remind you to turn the mirroring on in case you forget. Another important thing to remember is that iron-on material gets placed shiny-side down on the mat. The machine will remind you of that, too. :)
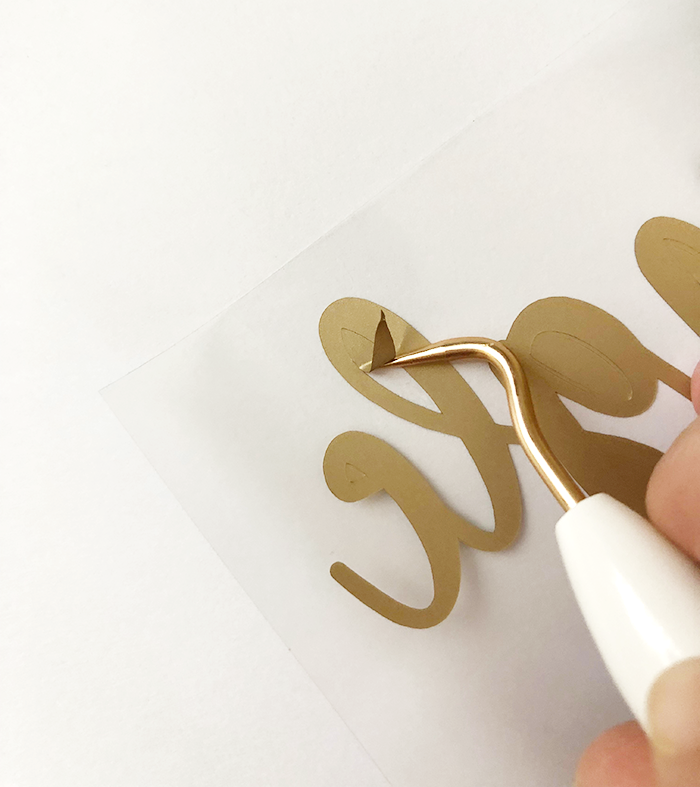
After all of the iron-on has been cut, use the weeding tool to peel away all of the negative material (the material that you don’t need). One of the reasons that the Martha Stewart Iron-On is so amazing to use is because it is incredibly easy to weed! Unlike other materials that I have used before, the Martha Iron-On peels right away from the cuts beautifully, and doesn’t snag or tear. If you’ve ever weeded before, you know this is a very welcomed trait!!!
The Martha Iron-On also applies flawlessly (especially when applied with the EP2), can withstand many washes, and is long-lasting when applied correctly. You can even layer up to three colors to create one-of-a-kind projects like I mentioned at the beginning of this post!
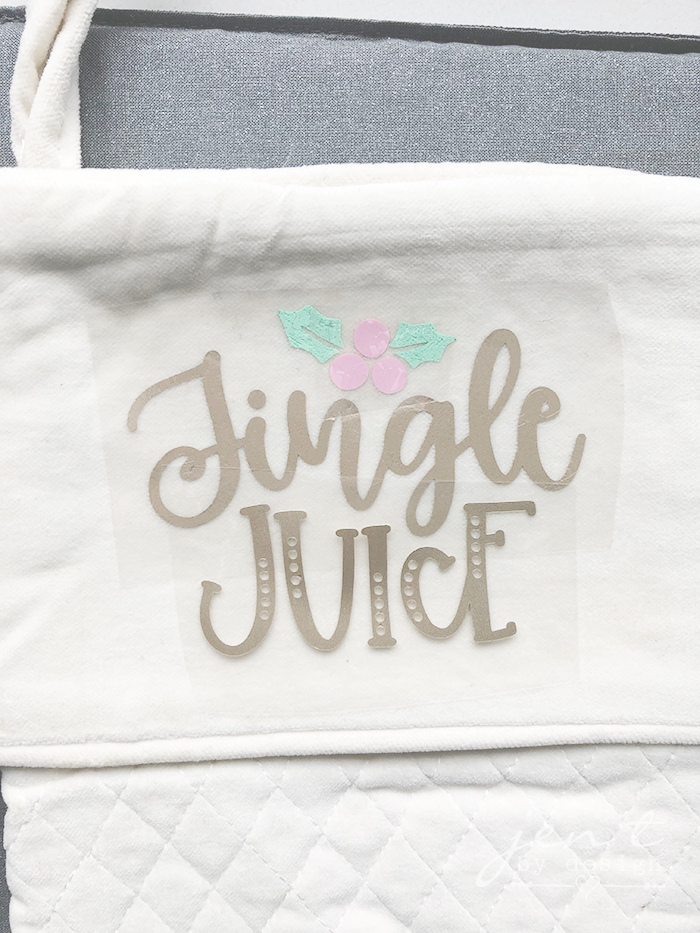

Once all of the Iron-On has been weeded, preheat the Easy Press 2 using this Reference Guide to determine the settings that you need. Follow the instructions in the guide to apply the Iron-On.
As you apply each layer, be sure that all of the iron-on is protected with the carrier sheet so that the already-applied iron-on doesn’t get ruined or stick to the press.

That’s seriously all there is to it! Cut, weed, apply. And with the amount of iron-on that you get on each roll, you can make a bunch of these babies to give as gifts! Super cost-effective, and super cute!
If you decide to give this idea a go, be sure to tag me on social media so that I can see! I love to see what you guys are creating. My social media accounts can be found below.
Happy crafting and chat soon! Jen ❤︎
If you like these ideas, please "Like," "Pin," "Share" or "Tweet!" Or, you can just shout it from the rooftops, if that's your thing. Thanks bunches!!! :)
This is a sponsored conversation written by me on behalf of Cricut. The opinions and text are all mine.