One of My Favorite Neighbor Christmas Gift Ideas and a Chance to Win a Cricut Maker!
/Affiliate links are included on this page. If you click a link and choose to make a purchase, I will earn a commission. Thank you for supporting my business!
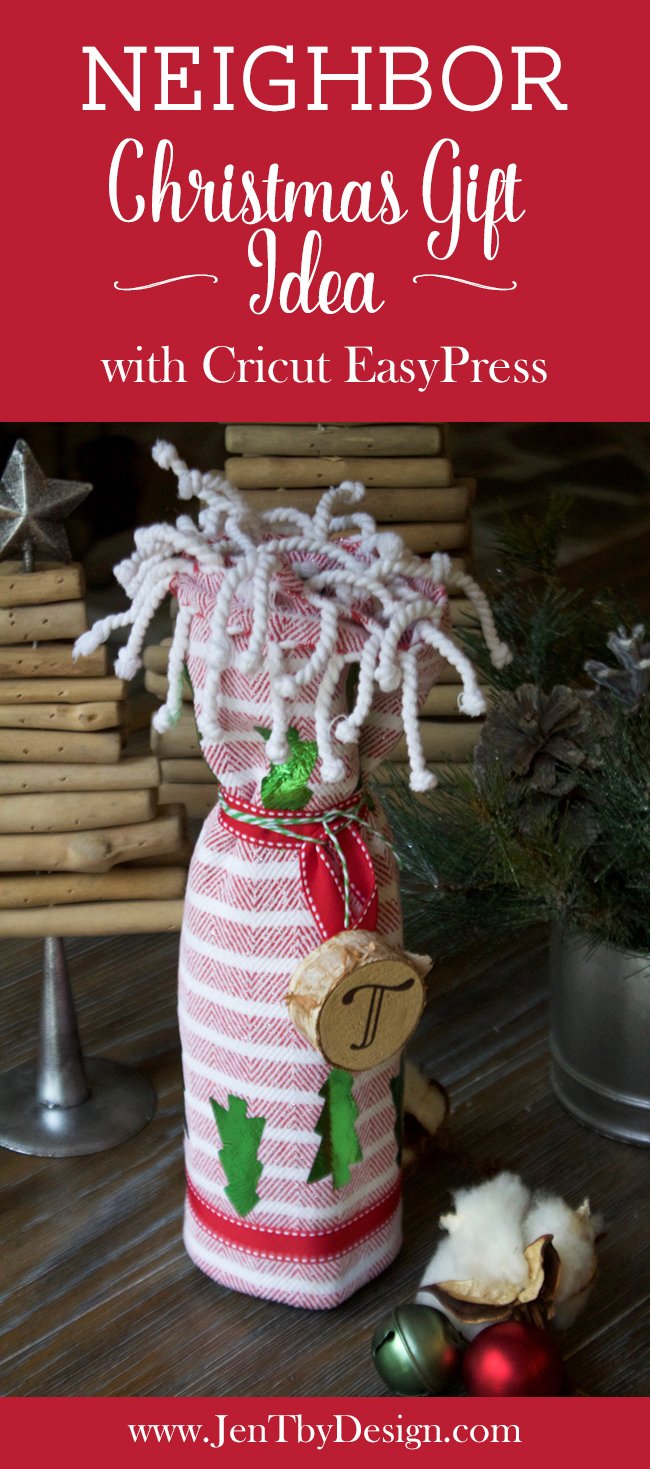
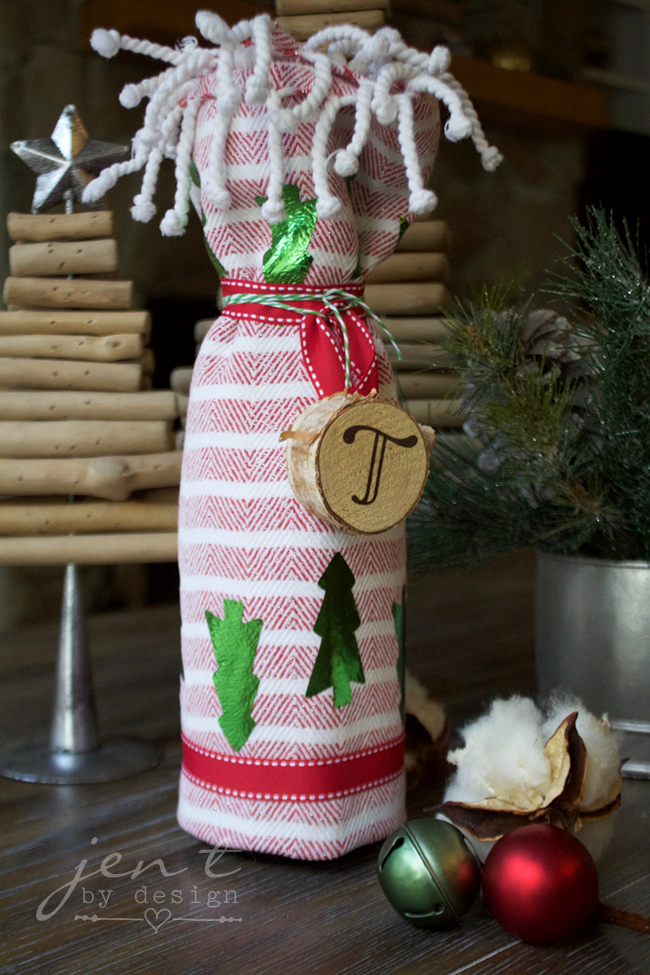
Hey y'all! Tis the season to start thinking Christmas {can you even believe it?!!}, and I'm about to make you the best neighbor on the block with one of my very favorite Neighbor Christmas Gift Ideas!
It's fast, it's easy, and it's something they'll actually use...happily. :)
I mean, let's face it. Is there anyone out there that doesn't need a little sip or two of an adult beverage to get through the holiday craziness? If you happen to have a neighbor that might answer yes to that question, then fill this wine bottle gift wrap with sparkling cider instead (and send me that adult beverage)!
Plus, since it's the Christmas season and all, we're giving away a Cricut Maker to one lucky winner! Be sure to enter at the bottom of this post!
Here's what you need to make a tea towel wine bottle wrap using your Cricut EasyPress:
• EasyPress (an iron will work if you don't have an EasyPress yet, but an EasyPress should totally be on your wish list for Santa)!
• A bottle of wine, sparkling cider, or liquor
• A tea towel
• Cricut iron-on foil (I used Emerald Green and Pewter)
• Ribbon to coordinate with your tea towel
• An ornament (optional). I used a wooden disc and personalized it with iron-on foil.
Place a 12x12 piece of the Emerald green iron-on foil shiny side down on a standard grip cutting mat, and click "continue."
Follow the prompts in Design Space to cut your project with your cutting machine, then weed the excess foil away from the trees.
Remove the backing material from the mat, and use scissors to cut the trees into strips.
Choose a hard, flat surface to use the EasyPress, and protect with a mat or towel. I used my kitchen counter and protected it with a bath towel. Preheat the EasyPress (or your iron) to the appropriate heat setting for your tea towel. Here is a chart you can refer to for the proper settings.
When the EasyPress has reached the desired temp, warm the tea towel by going over it a few times with the EasyPress. This will help your foil adhere to the towel.
Once you've preheated your tea towel, place the strip of trees where you'd like them to be adhered, place the EasyPress over top, and press the "C" to start the timer.
The EasyPress has a built-in timer, so once you set the temp, it automatically sets the appropriate time for you. You can adjust the timing, if you'd like, but I find that the pre-determined times typically work perfectly. :)
Apply some pressure while the EasyPress is working. When the timer beeps, move the Easy Press to cover the remaining trees and repeat the process.
Flip the towel over and do the same thing on the reverse side to ensure a really good adhesion.
Continue with as many rows of trees as you'd like to apply onto your towel.
Let cool completely, then peel the backing away from the foil. If any of the foil appears to not be adhered well, reheat the areas with the EasyPress.
Now it's time to wrap that bottle!
Fold the tea towel in half (loose edges up), and center the bottle on the towel.
Roll to the edge of the towel, then tie ribbon around the bottom and the neck to secure the towel in place. This does not attach the towel to the bottle, so be sure to hold the bottom of the bottle when moving and handling.
Tie a little ornament or hang tag from the top ribbon for a finished look, and you're done!
I had some little wooden discs that I scored at Hobby Lobby, so for a personalized touch, I just cut an initial out of Pewter iron-on foil with my Maker and used the EasyPress to adhere it. If you hot glue some ribbon onto the back, you've got a personalized ornament for your neighbors, too! :)
Seriously, you guys. How flipping CUTE is this?!! Honestly one of my favorite neighbor Christmas ideas ever! Your neighbors are gonna loooooove this, and it's so easy and inexpensive!
Have fun with it, and if you decide to make this project, please tag me on social media! I absolutely love seeing what you create!
If you like these ideas, please "Like," "Pin," "Share" or "Tweet!" Or, you can just shout it from the rooftops, if that's your thing. Thanks bunches!!! :)
Enter to win a Cricut Maker of your own!
This is a sponsored conversation written by me on behalf of Cricut. The opinions and text are all mine.


