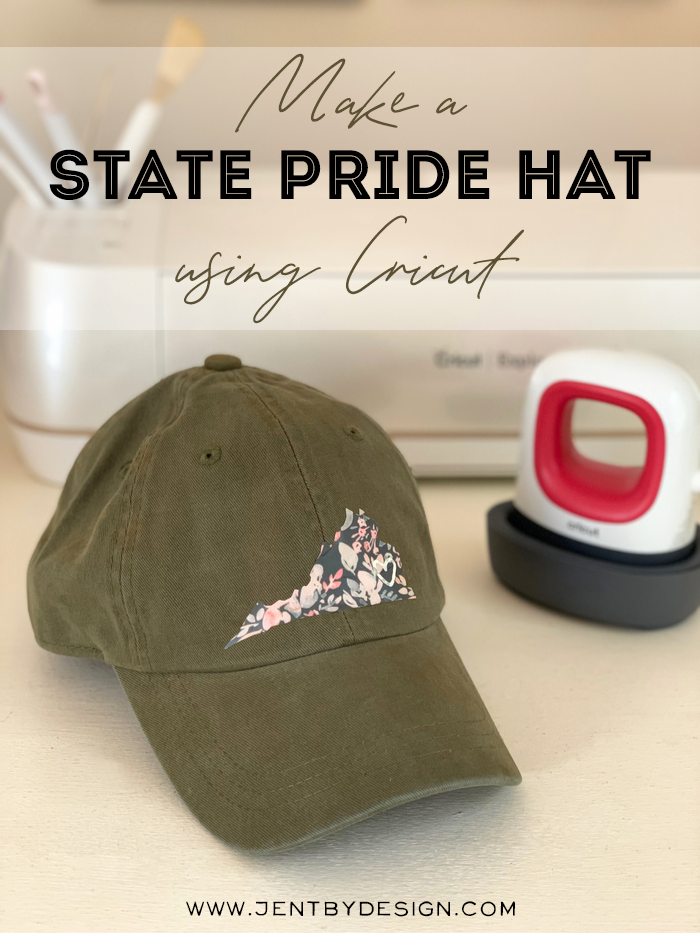
Make a State Pride Hat Using Cricut and the EasyPress Mini
/This is a sponsored conversation written by me on behalf of Cricut. The opinions and text are all mine. Affiliate links are included in this post, which means if you make a purchase using one of the links, I will receive a commission at no additional cost to you.
Baseball hats are basically part of my every day attire. Chances are, if you see me out and about running errands or if you pop by my house on any given day, you’ll catch me wearing a hat.
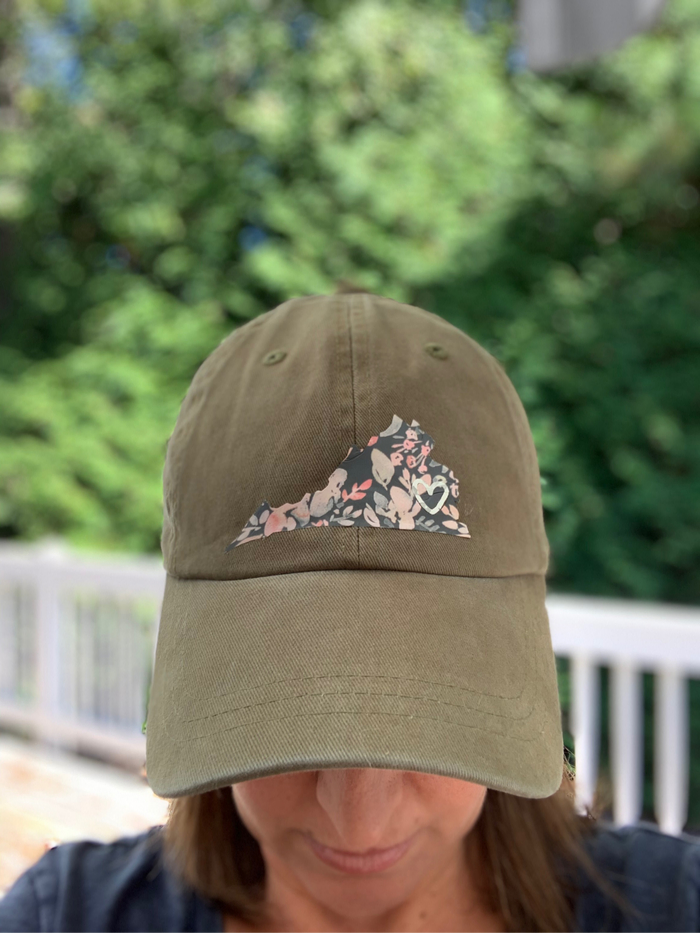
I’ve really been digging the State Pride Hat trend lately, but I haven’t been able to find a Virginia one that I love.
I thought about making my own with my Cricut machine and EasyPress, but because the front of the hat doesn’t lay flat, ironing the vinyl onto the hat with the EasyPress wasn’t really going to work well.
Then, almost like they were reading my mind, Cricut announced that they were releasing an EasyPress Mini!
This tiny little machine is not only cute as a button (I mean, it’s so itty bitty that it looks like a toy!!!), it’s absolutely perfect for hard to reach spaces, or uncommon objects like hats!
The EP Mini offers the same benefits as it’s larger predecessors, featuring an even heat plate and easy-to-use heat settings, allowing you to achieve effortless heat transfers every time. It also comes with a base stand to rest in while you’re working your way through your project, which is super convenient.
So, let’s talk about how to make this State Pride Hat, shall we?
To Make this State Pride Hat You’ll Need:
- A Cricut cutting machine (I used the Cricut Explore Air 2 for this project)
- This project in Cricut Design Space
- Cricut EasyPress Mini
- A Standard Cutting Mat
- A plain baseball hat
- Cricut Patterned Iron-On (I used the Natalie Malan Gray Blush Sampler)
To begin, open this project in Design Space. If you’re not a Virginia girl, but still like this idea, you can browse the images library in Design Space for an image of your state and use that, instead.
Set your material to “Patterned Iron-On” and mirror your image.
Place the material pattern-side-down on the cutting mat, then load the mat into the machine. Follow the prompts to cut, then weed the image.
Next, go to the online Heat Guide to determine what temperature your EasyPress Mini needs to be set to.
Simply click on the EasyPress Mini, enter the material that you’re using, then the material you’re ironing onto, and the guide will tell you what temp you need the EasyPress Mini to be set to, as well as how long to press.
Once your EP Mini has reached the ideal temperature, preheat the hat material by running the EP Mini back and forth over the area you’ll be ironing onto for about five seconds.
Arrange the iron-on cutout where you’d like it to be on the hat, then using constant movement and light pressure, press the EP Mini over the design for 25 seconds. Lift a corner of the carrier sheet to check adhesion, and heat a bit more to adhere, if necessary.
Allow the design to cool, then peel off the carrier sheet. So cute, right? I absolutely love how it turned out, and you can bet your booty that I’ll be sporting this baby tomorrow! I’m already brainstorming other hat designs to add to my collection, and I hope you are, too!
If you decide to give this project a whirl, please share a pic with me by tagging me on social media (follow the links at the bottom of the page for my account handles). I absolutely love seeing what you create!
Until next time, happy celebrating! xoxoxo, Jen :)


