Unicorn Trick or Treat Bag with Cricut EasyPress 2
/What’s black and white, and magical all over? This adorable Unicorn Trick or Treat Bag!
If your little ghoul is a unicorn lover, this DIY is for you! With the help of a Cricut cutting machine and the new EasyPress 2, you can transform a plain canvas bag into a cute Halloween treat bag that can be used year after year. Oh, and ya might just win Mom of the Year, too. ;)
For this project you’ll need:
A plain canvas bag
Cricut Iron-on (I used StrongBond Everyday Iron-on {Pastels Sampler, Basics Sampler, and Gold} and StrongBond Patterned Iron-On {Sunset Blossom Sampler})
Cricut weeding tool
Cricut EasyPress 2 (an iron can be used if you don’t have an EasyPress, but an EasyPress is recommended for even heat distribution)
You can totally personalize the design by mixing and matching the colors to suit your little ghoul’s taste. I highly suggest using the Cricut StrongBond Iron-On for this project because of the StrongBond Guarantee. It’s designed to withstand more than 50 wash and dry cycles when applied correctly, and if you’re not completely satisfied with the results, Cricut will replace it for free!
To get started, go to Design Space and open this project. Since you are working with iron-on, the images need to be mirrored. Prior to cutting on each mat, be sure to click the “Mirror” option on the left of the screen. Be sure to place the iron-on material on the mat shiny-side-down.
Design Space will walk you through the steps for cutting each color of vinyl. Be sure to choose the appropriate material settings for each material that you use (i.e. Everyday Iron-on and Patterned Iron-On).
Once all of your images are cut, use the Cricut Weeding Tool to remove all of the negative vinyl from the carrier sheet. NOTE: There is a little alignment square included on each mat…be sure that you don’t weed that away!
Now it’s time to make that magic come to life, and the Cricut EasyPress 2 is just the thing to make it happen!
If you’ve been following my blog for a while then you know how much I love my Cricut EasyPress! Well, the next generation of EasyPress machines has just been released and oh my gosh, y’all. Just when ya thought it couldn’t get any better, it did!
The EasyPress 2 has all of the amazing qualities of the EasyPress that you’ve come to love…successful adhesion in less than a minute, and precise temperature control for flawless transfers every time. But the absolute coolest thing is this: Cricut released this baby in THREE sizes. What does that mean? It means you can tackle any project, big or small!!!
Want to work on a baby onesie or add foil to some invitations? The 6x7 EasyPress 2 is perfect for that! Want to tackle a large project like customizing a table runner or creating a banner? The 12x10 EasyPress 2 can handle it!
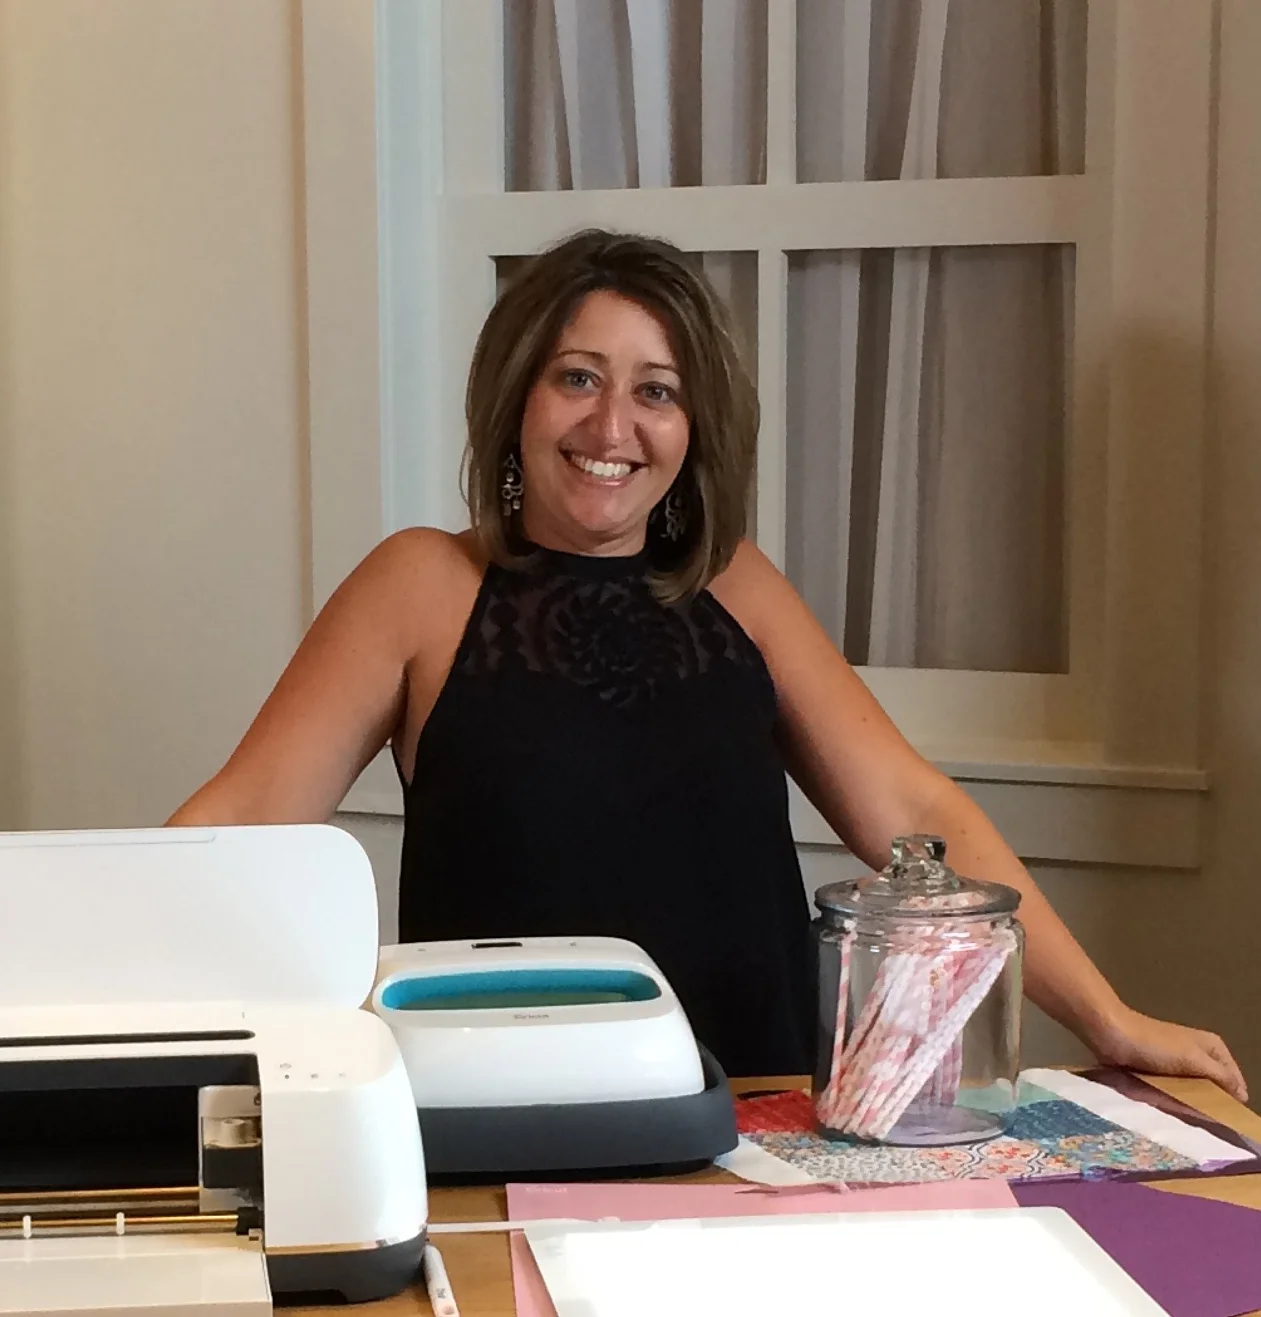
And if you want to make this adorable, magical Unicorn Trick or Treat Bag, the 9x9 EasyPress 2 is exactly what you need! How pretty is she in that raspberry color, by the way?
To get started, you will be heat setting each layer into place for about 5 seconds. Once all of the layers are set, you’ll do the full heat set, but initially you just want to make sure that all of your layers line up and stay in place. Preheat the EasyPress 2 based on this reference guide.
Once the EP2 has reached its goal temp, preheat the bag for about 5 seconds. This will remove any existing moisture and help your Cricut Iron-On adhere to the bag. Center the base layer (the pumpkin unicorn head) on the bag, carrier sheet side up, and heat for five seconds. Be sure to heat the alignment square on the left of the design when you heat…this will help you align the rest of your design. Let cool a bit and then peel the carrier sheet away.
Using the alignment square as a guide, position the next layer on to of the unicorn head. Cover any exposed iron on with the carrier sheet that you removed from the unicorn head. Heat for five seconds, but this time DO NOT heat the alignment square. Peel carrier sheet away.
Repeat this process, working from the bottom layers to the top, until all of the layers have been set. Use the weeding tool to remove the alignment square. If it doesn’t come off easily, apply a second or two of heat to loosen the glue, then remove.
Set the EasyPress 2 based on the time requirement for the material of your bag, then heat the design for the full time as stated in the reference guide. Flip the bag over and heat the back for 15 seconds. Peel away the carrier sheet.
And there she is in all her glory! Isn’t she cute?!! Where was this beauty when I was a little girl? Well, since I missed out, I’ll just have to live vicariously through your little girls (or should I say, ghouls). If you decide to make this project, be sure to tag me on social media so I can see! My social accounts are below…make sure you’re following!
If you like these ideas, please "Like," "Pin," "Share" or "Tweet!" Or, you can just shout it from the rooftops, if that's your thing. Thanks bunches!!! :)
This is a sponsored conversation written by me on behalf of Cricut. The opinions and text are all mine. Affiliate links are included in this post, which means If you purchase something through the link, I may receive a small commission at no extra charge to you.


